Setting out as a beginner to develop a glaze palette has so far felt a bit like throwing sh*t at a wall to see what sticks… I fell down the Glazy rabbit hole with little knowledge about glaze materials and I’m sure I’m not the first potter to do so. While I wouldn’t call this approach a mistake, as I did learn a lot, I wouldn’t recommend it as a strategy if your goal is to come up with a line of glazes with similar ingredients that play well together.
Many test tiles later, I did come out with a few base recipes I like working with, and some valuable lessons learnt. I should note that these lessons are not new, and I probably could have avoided mistakes if I had heeded the advice from the wonderful glaze books I read before starting. A few of those tips included:
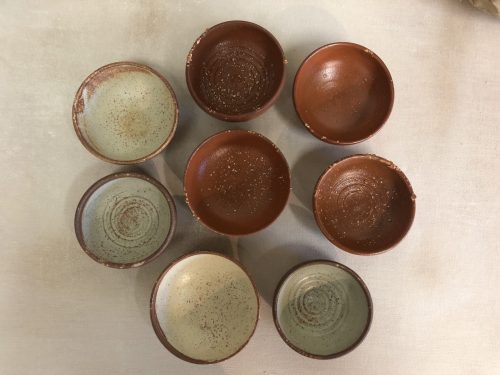
- Sieve your tests! Particularly those with titanium, red iron oxide and chrome (I’m sure there are more but these were just a few materials I was working with). A lot of my tests failed because I was in a hurry and didn’t sieve them, resulting in clumps of glaze materials that didn’t integrate properly into the glaze mix.
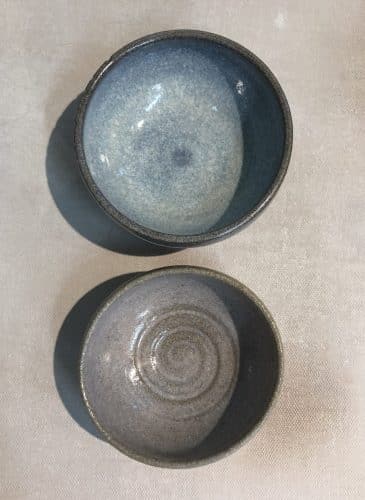
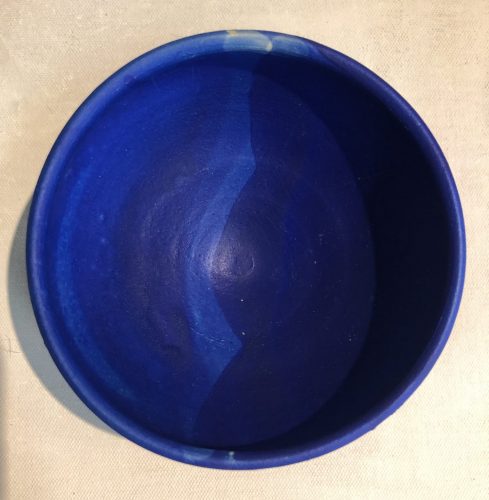
2. Careful application is key! Applying test glazes consistently to test bowls can be tricky, especially when you’re using 100 gram samples of glazes and small bowls as your test tiles. If you also make the glazes a little thin, like I did with some since I wasn’t concerning myself too much with measuring specific gravity, then you probably won’t get consistent results or a good idea of the full characteristics of the glaze.
3. Don’t leave all your test tile application to the last minute when you’re loading the kiln… or do. Whatever makes you happy. But I certainly won’t again. I mixed up the dry ingredients for all my tests in the weeks prior to the firing but I left combining with water and application to the day I was loading the kiln. This all took waaay longer than I expected and resulted in a few late evenings at work. I am the procrastinator of all procrastinators but I am going to try avoid this in future. It ended up consuming so much time that I didn’t want to sieve the tests at that point (see lesson 1) and was probably a little too loosey goosey with the application (see lesson 2).
4. Put “cookies” (a slab of bisque fired clay) under your test pieces, or use an advancer kiln shelf if you have access to one. This is pretty self-explanatory. Glazes run and stick to kiln shelves. If you’re like me and have no concept of what makes a glaze run (yet!! I’ll get there), better safe than sorry—protect your kiln shelves.
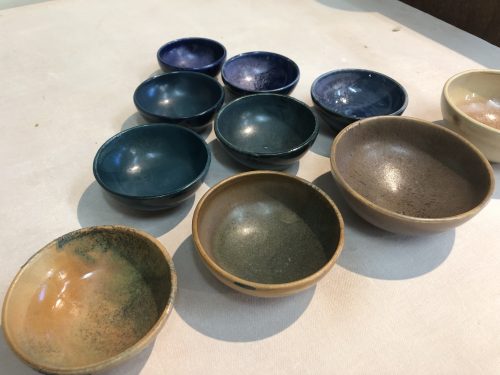
For the first year of the Mary Fox Pottery apprenticeship, I have access to a fully stocked “pantry” of glaze ingredients to start developing my own glaze line. A bounty of riches! But I can be very indecisive, so trying to narrow down a glaze palette to 4 or 5 colours (a limit I set for myself) is proving challenging. To add even more variables to the selection process, there are many different clay bodies which affect glazes differently.
I am learning very quickly how long this glaze development process will be! I’m grateful to be in a position where I have time on my side and, as an apprentice learning to produce another potter’s work, I don’t have the pressure of selling my own work on my shoulders just yet! So, back to the glaze room I go… stay tuned for more results 🙂